
Block Printed Chair

If you’re a lover of relief printing (or would like to be) but squeezing little prints through a press isn’t your thing, here’s an idea for block printing
that’s a little different:
that’s a little different:
We recently got hold of a couple of lovely old chairs that were in need of a little TLC. We’re using a piece of SoftCut Lino and Caligo Relief Inks to revamp this one!

Here’s how to do it it:
We used a piece of 75x75mm SoftCut Lino. We used SoftCut because it’s easy to carve and can be bent around curves – perfect for the design of this chair. Use a soft pencil to draw your design onto the SoftCut.

Use a lino tool with a deep V shape to carve the edges of your design.

Use a larger, flatter U shape tool to clear all the areas that you don’t want to print.

Mix up your ink. We are using Caligo Relief Inks which are completely lovely to work with and easy to mix into the perfect shade. They’re oil based but water soluble so they’re easy to clean up with water.

When you have mixed your shade, roll out a small area of the ink onto your glass or palette. It shouldn’t be squelchingly thick – you should hear a satisfying zzzz sound when rolling.

Roll your ink onto your block. You can use a paper towel to remove any unwanted ink from the cut away parts of the stamp.

Place the stamp face down on the chair. We measured out the centre and started here at the bottom of the chair. The SoftCut is perfect for this as it can be bent round the curve of the wood!

Press all over the back of the stamp with the flat of your hand. Be careful to hold the stamp still! The wooden surface can be slippery and the stamp can sometimes slide (luckily the ink can be immediately wiped off with a damp cloth in case of any slips – phew!)

Place the next stamp alongside the first one and repeat. Take care not the smudge the previous print as it will take a while to dry.

It gets a lot easier once you get onto the flat of the chair.

Bend the SoftCut around any more curved bits of wood, making sure it doesn’t slip.
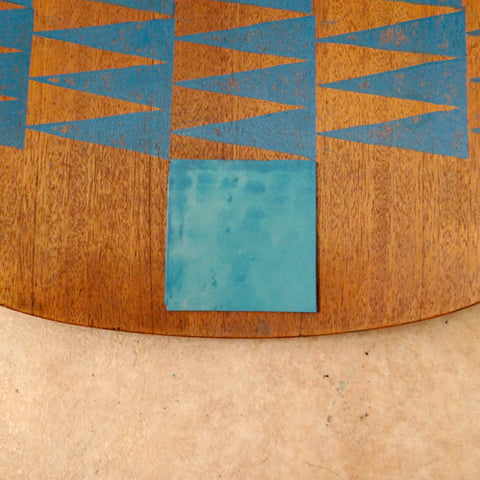
Here is the seat of our chair!

We turned out chair upside down to print the back so that it was flat and therefore a much easier surface to work on.

You can use just part of your stamp to fill in the last little spaces. Just position it where the next stamp would go.

Our final chair!

You will need:
- Piece of SoftCut Lino
- Pencil
- Lino cutting tool
- Caligo Relief Printing Inks
- Palette knives
- Piece of glass, perspex or an inking tray
- Roller
- Spray varnish to finish