
Printed Shrink Plastic Keyring
There is something really compelling about miniature objects. A miniature print sounds just too good to be true. Don’t worry about carving tiny detail
– this project will shrink it down for you!

Start with a sheet of Shrink Art Plastic – we’re using white. Cut out your desired shape with scissors or using a tag punch cutter like this one. Remember that your final piece will be about seven times smaller than your starting shape so don’t cut too small too soon!


Draw around your shape onto a piece of Softcut. Draw your design inside.

Using a lino cutter, carve out your design. We are using the Speedball Lino Cutter Assortment which comes with five different blades. Use larger U cutters to carve out big areas…

…and fine V tools to carve out the small details. Cut your whole shape out with a scalpel.

Roll out a little water based block printing ink. Cranfield inks work perfectly here. This rainbow was made by blending together Cyan and Magenta with a roller. Make sure your layer of ink is thin enough for the roller to turn freely and make a zzzz sound – it should not look or
sound squelchy!

Roll your ink onto your block.

Press your shrink plastic shape on top of your inked up block. Place the plastic rough side down. Press all over making sure to not miss any areas.

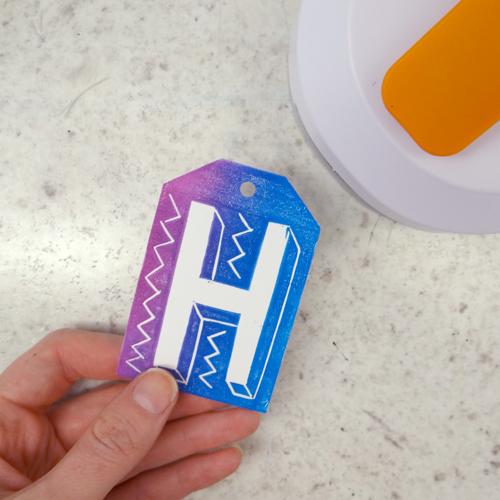
Peel your plastic off to reveal your print! Leave for the ink to dry.

If making a keyring or jewellery, you’ll need a hole to thread through. Our tag cutter punches holes but you could use a scalpel or hole punch. Remember that your hole will shrink too!


Place your plastic flat on a tray in a pre-heated 180C oven. Watch as it shrinks, curls and twists! Take it out when it lays completely flat on the tray.
This should take about two minutes. As soon as it comes out, press it between two flat surfaces. We used two glass plates but a book and a table should work just as well. If your plastic has cooked too much, pop it back in the over to make it pliable again.
Take a look at our tiny tag compared to its original size! As well as shrinking in size, your shape will get much thicker and more rigid.
Our final keyring threaded up and ready to go:

To make you own mini keyring you will need:
- Sheet of Shrink Art Plastic
- Sheet of Softcut
- Lino cutter
- Pencil
- Tag cutter or scissors
- Water based printing ink
- Roller
- Inking tray
- Oven or heat gun
- Keyring fastening or string