
Printing an Easy Card Cut Collagraph
Collagraphy is a printing process in which a collaged plate is made and printed from. The different surfaces on the plate print varied tones and textures. Natural materials, papers and mediums can be added and are usually covered in a layer of shellac or varnish that is left to dry before printing. Here’s our method for creating a really quick and easy card-cut collagraph that doesn’t require varnishing or waiting for glue to dry! This method only requires mount board, tape and a scalpel to create different tones.
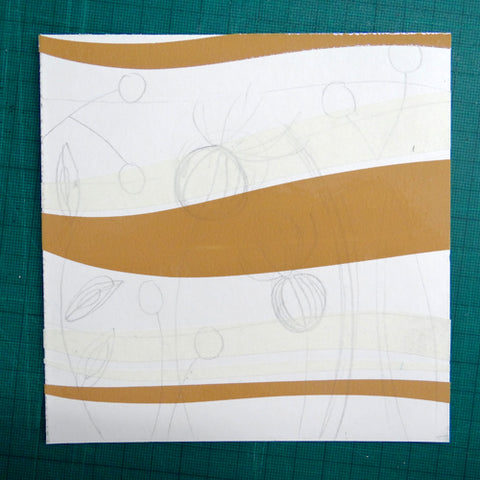
Draw your design onto a piece of mount board.


Use masking tape and parcel tape to create different tones. Parcel tape creates a wipe-clean surface that provides a white area when printed. Masking tape
creates a duller surface on which the ink can cling.

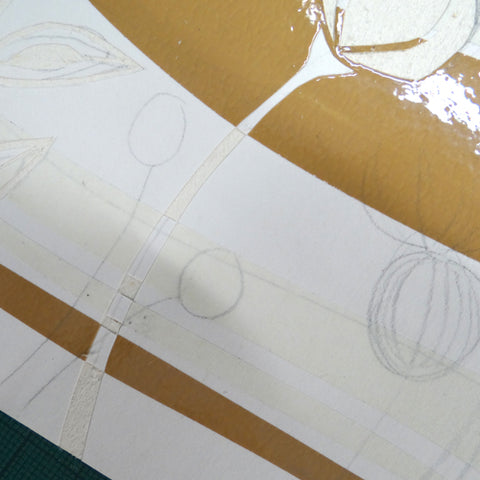
To create darker shapes, score into the mount board with a scalpel. Use the tip of the scalpel to tease up the corner of the top layer of mount board and
then peel away to reveal the rough textured insides. This will hold lots of ink and print heavily.
Create different tonal areas by peeling the tape away from the mount board in places as well as scoring and peeling away the mount board’s top layer.

Before you begin inking your plate, soak your paper. We used Kent: a 190gsm off-white semi-smooth printmaking paper, but lots of printmaking papers will be suitable. Dampened paper helps to draw the ink from the plate and create a bold print. Lay the paper in a tray of water for a few minutes whilst you prepare the plate.

To ink up your plate, use a stiff brush to work ink into the surface. We are using Akua Intaglio Inks which are soy-based, easy to clean up and don’t skin over. You can work in different colours at this stage too!

Next, use a piece of scrim to work the ink into the plate whilst removing some of the excess. Wad the scrim up and wipe in a twisting motion.

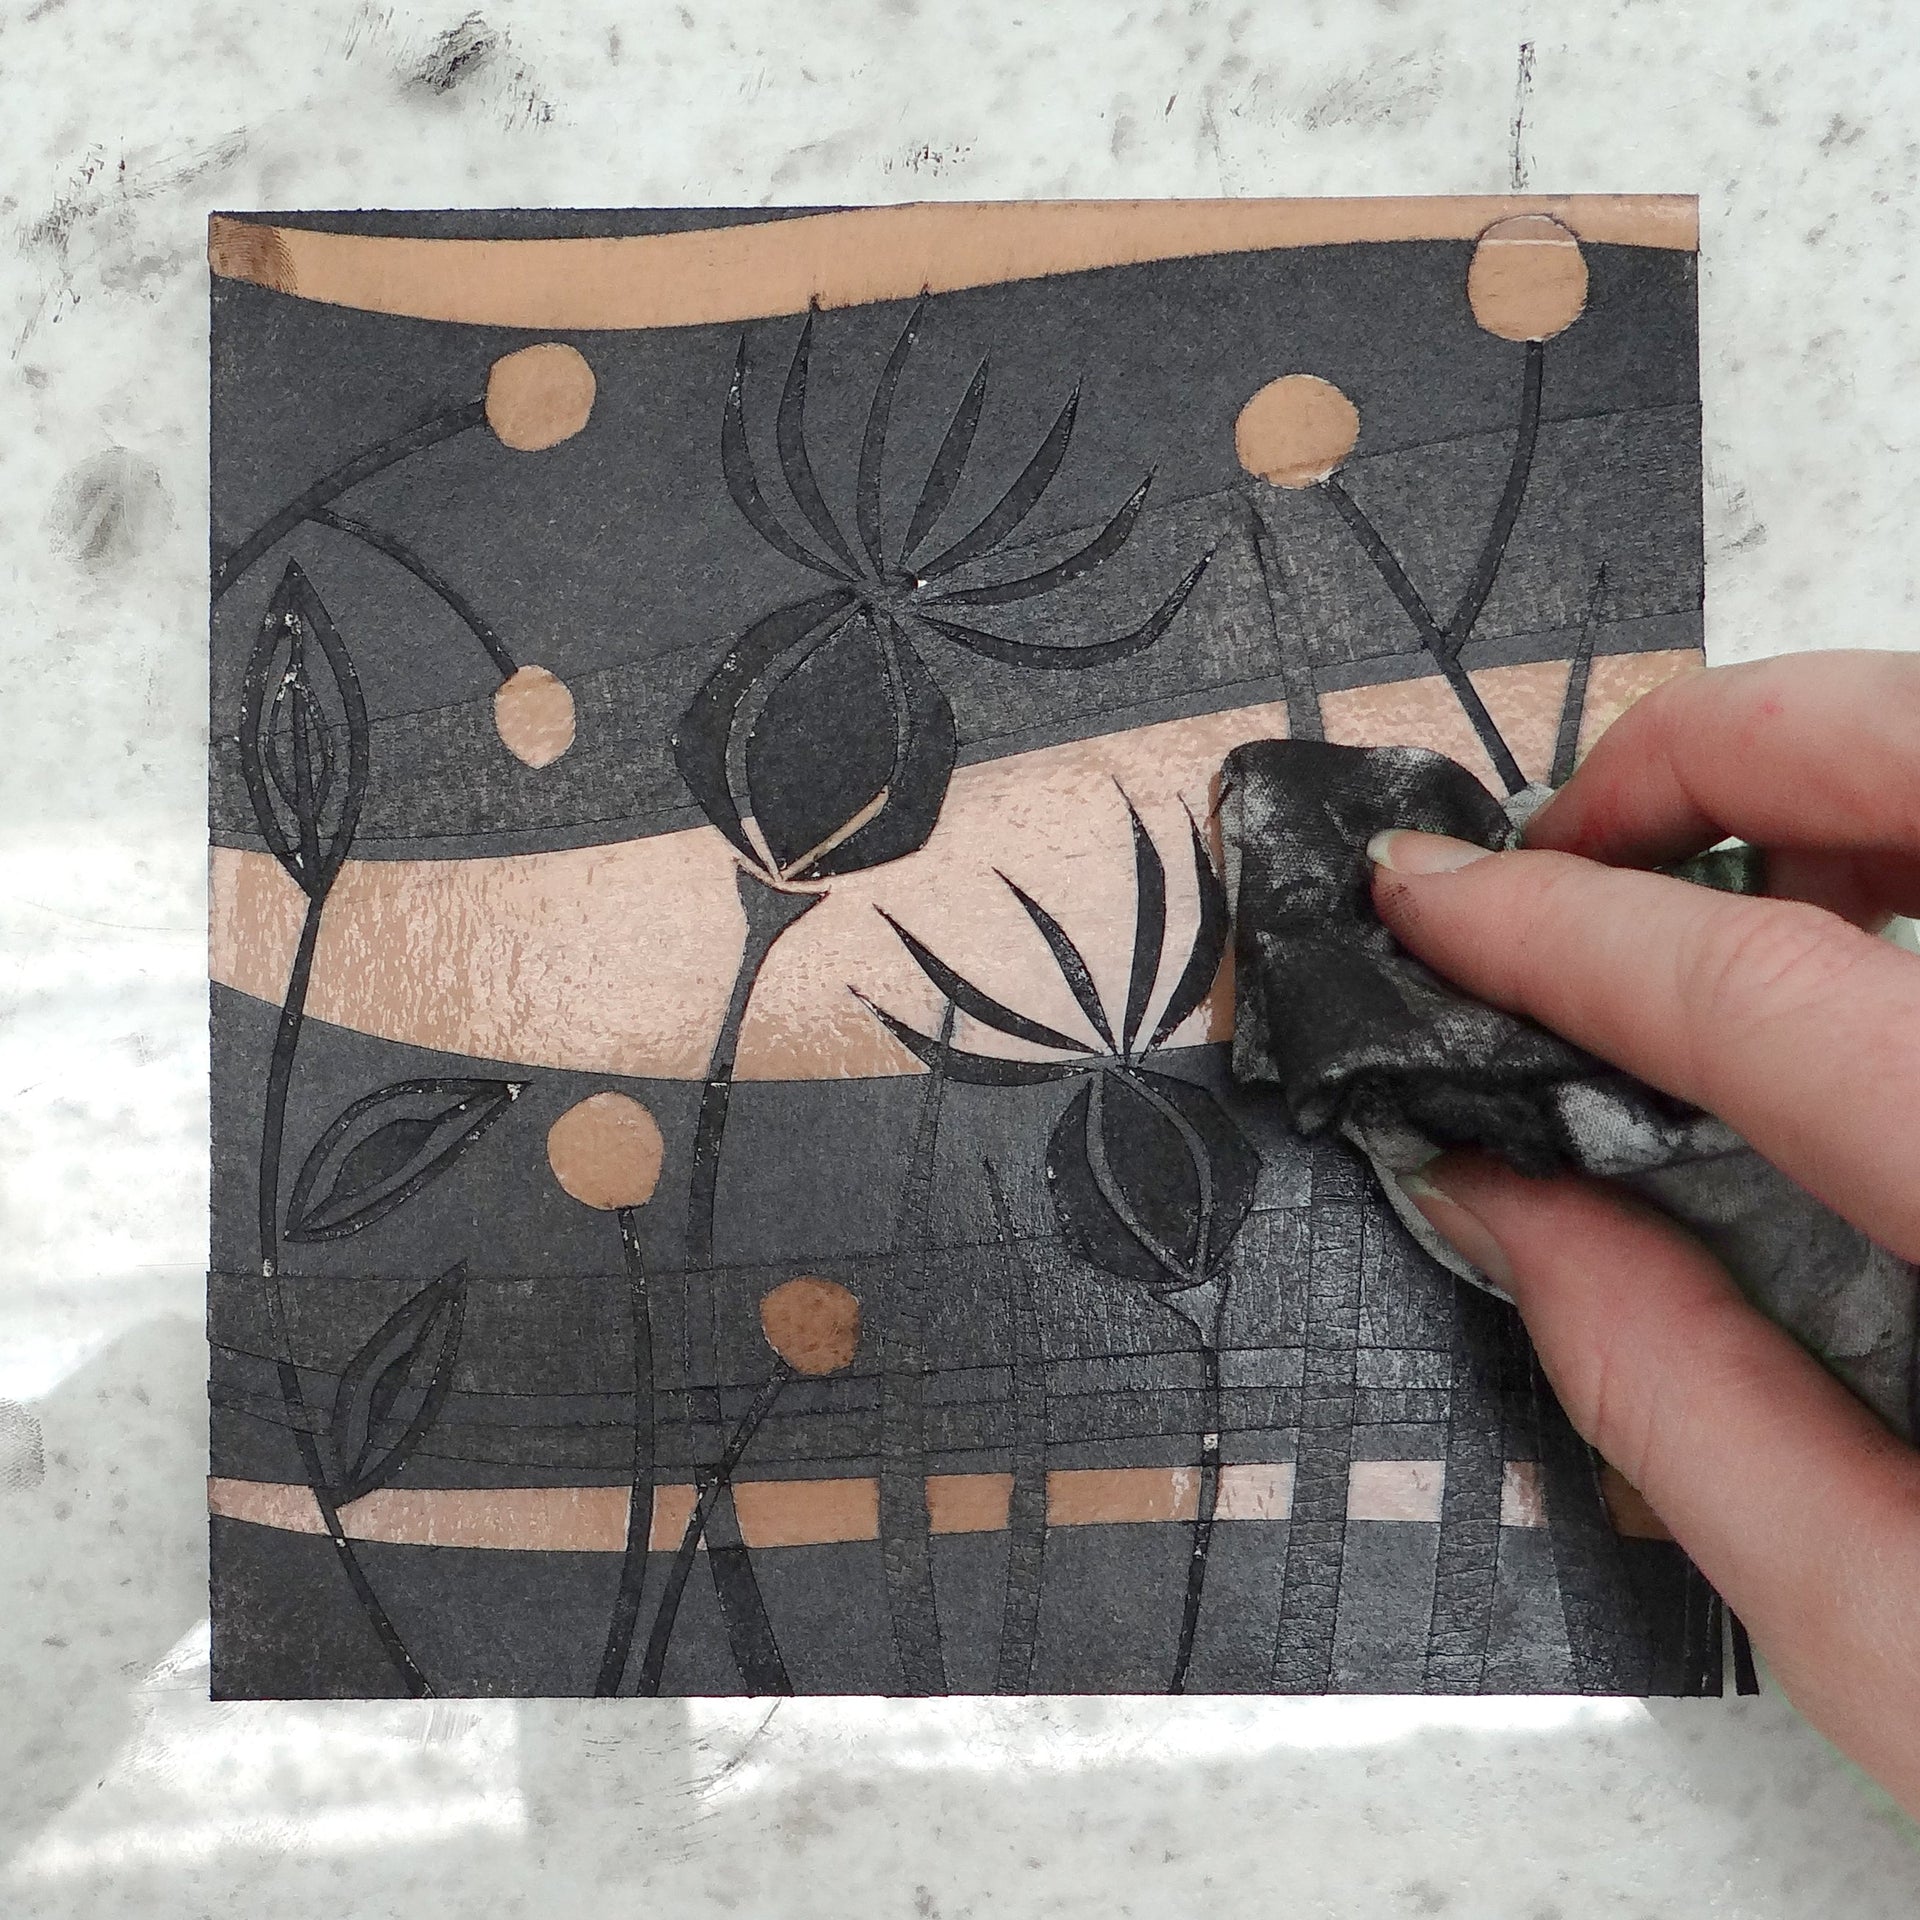
Finally, use a piece of cloth to clean the plate, focusing particularly on any parcel tape that you wish to remain white when printed.


By now your paper will be soaked enough. Remove it from the tray and blot using blotting paper or clean j-cloths. The paper needs to be well blotted and feel damp to the touch with no visible water on the surface – a little like it has been left out in the garden all night (but don’t do that…)


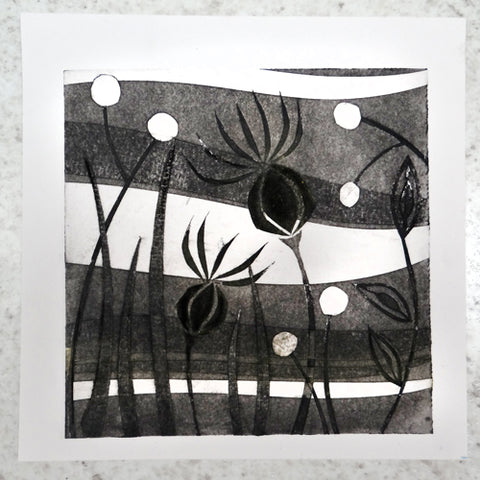
Place your plate face up on the etching press with your dampened paper on top. Cover with newsprint and finally blankets before putting through the press
on a fairly tight setting. If you don’t have access to a press (and aren’t local enough to come and use ours!), try printing with a baren or metal spoon, taking care to not move the plate and producing a smudged print.

To make an easy card cut collagraph you will need:
- Mount board or Enviromount
- Scalpel
- Cutting board
- Masking tape
- Parcel tape
- Akua Intaglio Inks
- Tray for soaking paper
- Blotting paper or clean j-cloths
- Paper to print on such as Kent
- Scrim
- Cloth
- Stiff paintbrush