
Relief Printing from Wood Grain
It can be interesting to include natural textures in our relief prints. Wood grain is a beautiful organic pattern and can be printed especially well if we emphasise the natural grain in the wood. We can do this with a blow torch. Scorch the surface of the wood to bring out the wood grain. (Please be careful when using the blow torch by working outside on a non-flammable base).
When the wood has cooled use a wire brush to clear the soft burnt areas, leaving the raised areas behind. Work the brush in the direction of the grain. If you are too vigourous at this point you will scratch the wood which will alter the print surface.
Dampen a scrubbing brush and wash away the leftover ash and soft wood. Wash under running water till it runs clear.

When the wood is dry it can be inked up. We are printing onto dampened Somerset 250gsm Satin White paper. The dampened paper will help stop the paper from moving when printing and it will also soften the paper which will make it more receptive to the ink.
Ink up the wood ensuring that the whole surface is evenly covered. We are using Caligo Safe Wash Relief Ink in Prussian Blue. We used a small roller for this as the wood was not 100% flat it ensures good coverage.

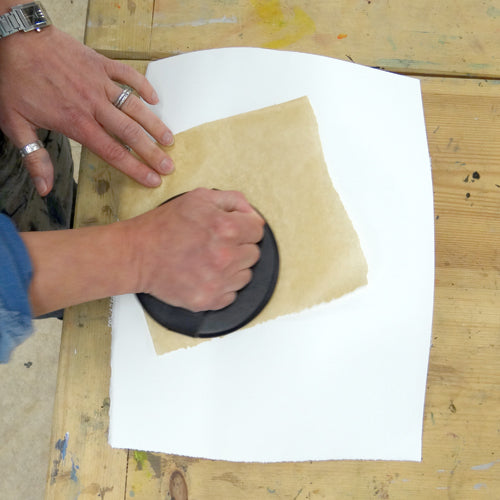
Blot the dampened paper and gently place it on top of the wood. Use a piece of greaseproof paper underneath a baren and work the baren over the whole surface (the greaseproof paper will help the baren glide over the surface and protect the damp paper from tearing). We are using a Ball Bearing Baren but an ordinary baren or spoon will do the trick too.
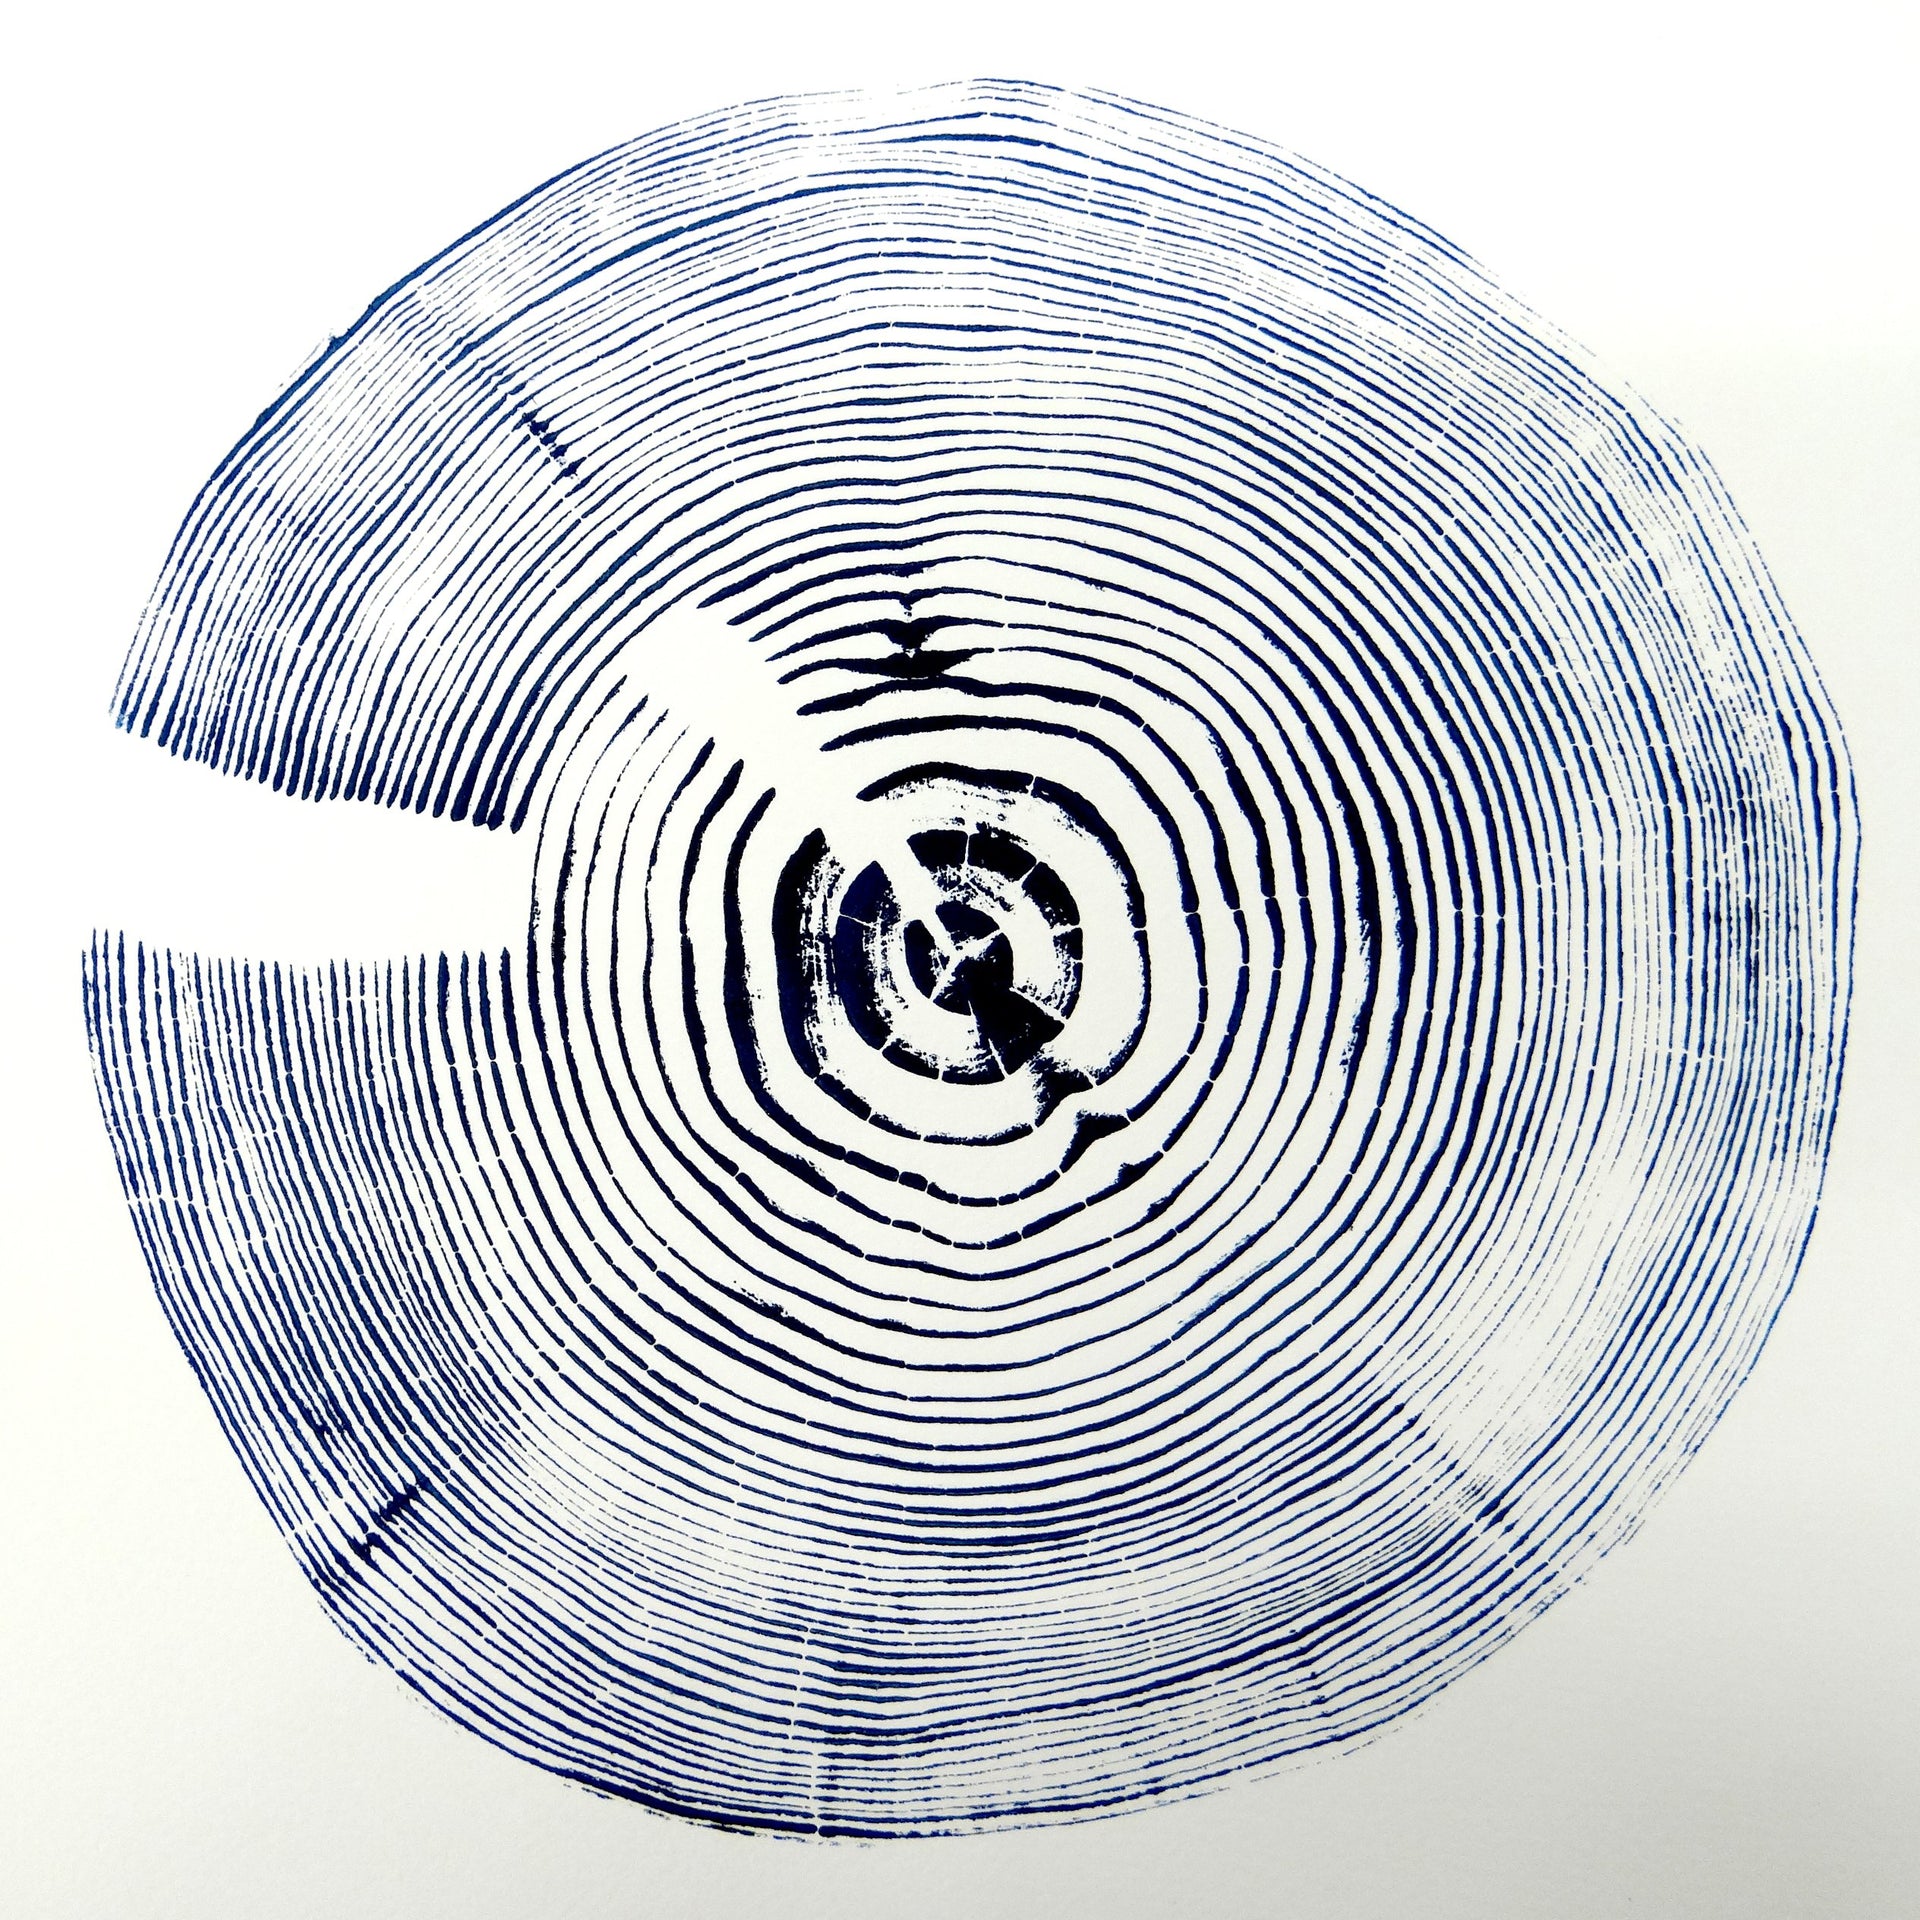
Peel the paper to reveal the print!


- Piece of wood
- Blow torch
- Wire brush
- Scrubbing brush
- Somerset paper
- Tray to soak the paper
- Blotting paper
- Caligo Safe Wash Relief Ink
- Roller
- Baren
- Greaseproof paper