
Drawing Fluid and Filler Screen Printed Christmas Cards
This is a really fun way of making a big batch of Christmas cards. Making a screen with drawing fluid and filler maintains a hand-drawn look whilst giving
a flat professional finish that’s the same on every card. Here’s how:
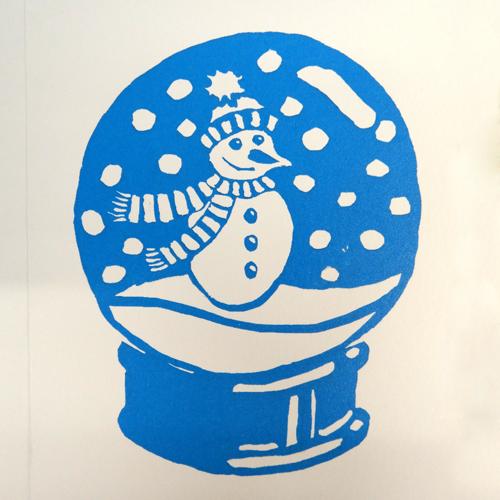
Draw around a blank card onto a piece of paper. Draw your design in the space – make the drawing bold as we want to be able to see it through the screen.

Lay a screen over the top of the design. We are using an A4 90T screen which is perfect for printing onto paper. With the mesh flat against the design,
trace the drawing with a soft pencil.

Flip the screen over to the back so that the mesh is raised above the table. Use drawing fluid to paint in your design. You want to paint all the areas
that you want to print onto your card later.

Leave the drawing fluid to dry.

When the drawing fluid is dry, use parcel tape to create a rectangle around the edge of the design on the back of the screen. This saves screen filler
as less of the screen needs filling.
With the back of the screen facing up, use a spatula to place a line of screen filler on the parcel tape above the design.

Use a squeegee to drag the screen filler down the screen.

Scrape off the excess screen filler and leave it to dry. Once the filler is dry, rinse the screen with a shower or garden hose. The drawing fluid should
wash out, leaving the screen filler behind.

Once the screen is dry, extra screen filler can be added with a paintbrush for finer details and for touching up.

Once the screen is completely dry it is ready for printing. Use parcel tape to fill in any open areas of mesh around the design.
We are using a board with hinge clamps attached to the top. This will help to keep our screen in the same place for each print. We have attached a piece
of acetate to one side of the board that will fold back like a book page. This will help us to register the prints.

Place the acetate over the board. Place a line of ink at one end of the design. We are using acrylic paint mixed 50:50 with System 3 Acrylic Screen Printing
Medium. Hold the screen slightly away from the board and use a squeegee to flood the screen: drag the ink gently along the mesh without pressing hard.
Place the screen down on the board. Use the squeegee at a 45 degree angle to push the ink through the screen. You should hear a zip sound.

Lift up the screen to reveal the print on the acetate. Flood your screen to stop the ink from drying in the mesh. Slide a blank card under the acetate.
Position the card under the print. With the card still in place, fold back the acetate and mark the position of the card with masking tape corners.
Each card can now be placed in the same spot allowing all the prints to be in the right place.

Print each card with your squeegee at a 45 degree angle, adding more ink to the screen if necessary.

When finished printing, scrape away any excess ink from the screen. Use a soft damp sponge to wipe the screen clean and then rinse with cold water.
When the design is no longer needed the screen can be cleaned with Speed Clean. It is best to clean off the filler as soon as it’s no longer needed as
it can be tricky to remove after a long time.
Use a brush to coat both sides of the design with Speed Clean. Leave for five to eight minutes and then wash with hot water. You may need to repeat this
a couple of times to remove all the filler.

To make these cards you will need:
- A4 90T screen
- Pencil
- Speedball Drawing Fluid
- Speedball Screen Filler
- Paintbrush
- Parcel Tape
- Squeegee
- Blank Cards
- Board with Hinge Clamps
- Acetate
- Acrylic Screen Printing Ink (or Acrylic Paint and Acrylic Screen Printing Medium)
- Spatula
- Speed Clean