
Preparing your paper and press for etching
When you’ve created an aluminium or zinc plate etching, you’ll want to have a go at pulling your first print. To do this, you’ll need to learn how to prepare your paper and how to set the correct pressure on your press.
This blog is part of a series featuring tips and techniques to get you started with aluminium or zinc plate etching. This post will demonstrate how to prepare your papers and how to set the pressure on an intaglio press.
Blotting Your Paper
When it comes to printing intaglio methods, your paper needs to be dampened and blotted prior to printing. Blotting will help to soften the fibres in the paper. This allows the paper to be pushed into your etched marks under high pressure, making the paper meet the ink inside the grooves, which creates the print.
The best papers to use for intaglio methods are those with a heavier gsm (grams per square meter). Generally, the higher the number, the thicker the paper.
For intaglio methods, we recommend:
Somerset Satin (250gsm or 300gsm)
If you want to experiment, you can also try our mixed paper pack which contains a selection of all these papers and more.

To prepare your paper, first fill a tray with a few inches of water. Place a few sheets of paper (cut to size) into the tray. Submerge them and allow them to float on the surface. Don’t put too many sheets in at once, just one or two at a time.
Allow the paper to sit in this water bath for at least 3 minutes. The time may vary depending on the thickness of the paper, and some papers may need more time. It’s always better to let it over-soak than under-soak.

When your paper is thoroughly soaked, lift it out by the corners and hold it above the bath to allow the excess water to drip off. You can also swipe the bottom edge of the paper to the lip of the bath to get the last drops of water. Place the damp sheets inside two sheets of clean blotting paper.

Using your hands and forearms, gently apply pressure so that the blotting paper squeezes out any excess moisture. You can leave your papers inside the blotting sheets until you’re ready to use them. It’s good practice to soak and blot your paper first, and then ink up your plate.

When you come to use your paper, make sure it looks matte. If it looks shiny, there is still too much water on the surface. In this case, put the paper back into the blotting sheets, apply a little pressure and let the paper rest a little longer. The problem may also be that your blotting sheets are too wet, so fresh blotting sheets may be needed. Remember you can dry out your blotting paper after use, and they can be used again and again.
Your paper should feel damp, soft, and flexible. If it’s been left to rest in the blotting sheets for too long, the paper will feel dry and crisp, and you will need to soak and blot the paper again.
For preparing your paper, you will need:
- Printing paper of choice
- Water tray
- Blotting paper
Setting the Pressure on a Press
Intaglio methods (such as etchings) require an etching press to take a print. This is because an etching press can achieve the high pressure required to push the paper into the etched grooves and extract the ink. An etching press can be identifiable by its two large heavy rollers, and the flat bed which runs in-between them.
Etching presses can be expensive. If you don't have an etching press, see if you have a printmaking studio in your area that allows open access or hire of equipment. We've compiled a list of printmaking studios in the UK. In our studio based in Bognor Regis, we have two intaglio presses available which you can use as part of Open Access.
Before you start inking up, it’s a good idea to roughly set the pressure of your press with a clean plate first. As you create your first few prints, you may need to make minor adjustments as you go.

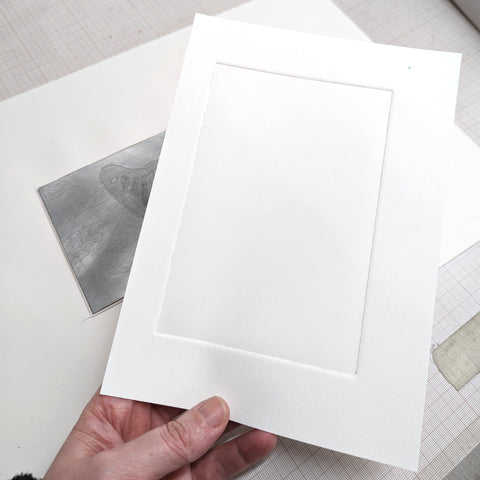
Place your registration sheet (if using one) on the bed of the press, with a clean metal plate on top. Place a sheet of the blotted paper you’re intending to use on top (a sacrificial sheet), a piece of newsprint to protect the blanket, and finally a blanket. Smooth out the blanket so that everything is flat and there are no ripples.

Using blankets is crucial with intaglio methods. Along with softening your paper, blankets will help to push the paper into the etched grooves and draw out the ink. Some printmakers will use just one blanket, or they may use multiple blankets. Blankets come in different densities and can be made of different fibres. We sell a selection of blankets here at Handprinted.

Turn the pressure handles on your press to increase the pressure and lower the roller. You’ll want to do this staggered, turning one handle for a few turns before moving to the other handle. Keep moving back and forth between the two handles, lowering the roller gradually. Keep going until the pressure feels finger-tight, as in you can no longer turn the handles by pushing them with two fingers. You never want to over-tighten your press or you risk causing damage!

Roll the press through (be mindful of any scarves or loose jewellery!). Lift the blankets and check how well the paper has debossed around the plate under pressure. If it looks weak, increase the pressure slightly on both sides. If it looks uneven, adjust the pressure slightly on the side that’s weakest. If it looks strong and even on both sides, this is a good starting point, but it may still need adjusting as the first prints are created. Time to ink up your plate and take a test print!
To set the pressure on a press, you will need:
- An etching press
- Paper of choice (our paper recommendations are above)
- An un-inked etching plate
- Press blanket(s)
- Newsprint to protect your blanket